J Linz's Temperature Blanket!
Alrighty! New blank slate! This is what I'll be doing for my temperature blanket project. You don't have to be exact; make it your own! Someone had stated to make sure that the colors blended well with one another. But if you want to make an ugly duckling blanket, who am I to judge? And besides: you might live in an area where the weather is bipolar and you're bound to end up with non-matching rows!
First things first: pick out your temperature ranges and match them with the colors of your choice. I think I mentioned that this was actually the hardest part of the project. If not, yeah: this is the hardest part! Unless you're a meteorologist or someone whose brain holds on to useless facts, you're not going to know the average weather for your area. I mean, it's common knowledge that there is a slim chance Floridians will need to use the ranges of 30 and below. But for the rest of us, we're gonna have to look this info up! To be safe, I would use the entire weather range: you never know when you'll go and travel somewhere!
I stated it in the last post but I'll repeat myself...
91 and Above: Burgundy
81-90: Cherry Red
71-80: Pumpkin
61-70: Bright Yellow
51-60: Spring Green
41-50: Blue
31-40: Soft Navy
21-30: Medium Purple
20 and Below: Baby Pink
For my area, I'm a bit certain I won't use the pink that often. But you never know: if we were wearing short sleeves on Christmas day, anything is possible!
No one has stated whether this is the high or the low of the day. I'm pretty sure that you can find out what the average was for the day. But I'm going to be using the high...
On second thought: because I'm using motifs, I COULD do two a day: one for the high temp and one for the low temp. Something to think about...
Got your temp ranges and colors? Great! The next is strictly up to you: choose your size hook and find a pattern! I picked up an H/5 and I decided on motifs. Find you a pattern that you feel you can easily churn out a row or two in a day. Or, if you're hardcore, one where you can do about thirty-one rows in a day! I've seen a couple of bloggers who had done this, whether it was intentionally or because real life got in the way. Whatever makes it better for you! My plan is to crochet the motifs and at the end of the month, crochet those motifs together. Or... since I've already figured out that my blanket will end up 10x37, do a strip every ten days. Whatever; I'll figure it out!
Ah! You want to use the motifs that I've done? Cooool! :) *the following is what I'm using. You can alter it to your heart's desire*
What You Will Need
Size H/8/5 hook
Worsted Medium (4) yarn
Yarn needle
Gauge
This really isn't necessary because these motifs are whatever the size you feel are best. Using the size hook that I did, my motifs measured out 3 1/2 by 3 1/2. It's only three rounds and I think I tend to crochet a bit too tight!
 |
| 5 down, 365 to go! |
Stitches Used
DC: Double Crochet- yarn over, insert your hook into specified stitch, pull through stitch (you will have three loops on your hook), yarn over, pull through two loops (leaving two loops on your hook), yarn over and pull through both loops.
MR: Magic Ring- It's easier to show you this way than to explain it!
MR: Magic Ring- It's easier to show you this way than to explain it!
SL ST: Slip Stitch- insert your hook into specified stitch, yarn over and pull through stitch and loop on your hook.
Abbreviations and Terms
CH- Chain
Rep- Repeat
Rnd- Round
Fasten- after the last stitch, cut the working yarn about 2 to 4 inches. Pull yarn through last loop and tighten. You can use a smaller crochet hook or a large eye yarn needle to weave the loose end into the stitches.
Abbreviations and Terms
CH- Chain
Rep- Repeat
Rnd- Round
Fasten- after the last stitch, cut the working yarn about 2 to 4 inches. Pull yarn through last loop and tighten. You can use a smaller crochet hook or a large eye yarn needle to weave the loose end into the stitches.
Rnd 1: MR. CH 2 (counts as DC from here on out). 9 DC in MR. SL ST in top of CH 2, pull string to tighten (you can either do that or pull the string to tighten first and then SL ST into CH 2; whichever one is more comfortable for you). 10 DC
Rnd 2: CH 2. 1 DC in next DC. 2 DC in each DC around. SL ST in top of CH 2. 20 DC
Rnd 3: SL ST in next DC. CH 2 (DC, CH 2, 2 DC) in same DC. *DC in next 4 DC. 2 DC, CH 2, 2 DC in one DC. Rep from * twice. 4 DC. SL ST in top of CH 2. Fasten, leaving at least 4 inch tail (if you don't have a ruler handy, make the tail at least the length of your hook or a regular pen).
To make additional rounds: SL ST in next DC. CH 2, DC in same DC. *DC around until you reach the CH 2 corner. 2 DC, CH 2, 2 DC in CH 2. Rep from * three times. DC until you reach starting CH 2. SL ST in top of CH 2.
To make additional rounds: SL ST in next DC. CH 2, DC in same DC. *DC around until you reach the CH 2 corner. 2 DC, CH 2, 2 DC in CH 2. Rep from * three times. DC until you reach starting CH 2. SL ST in top of CH 2.
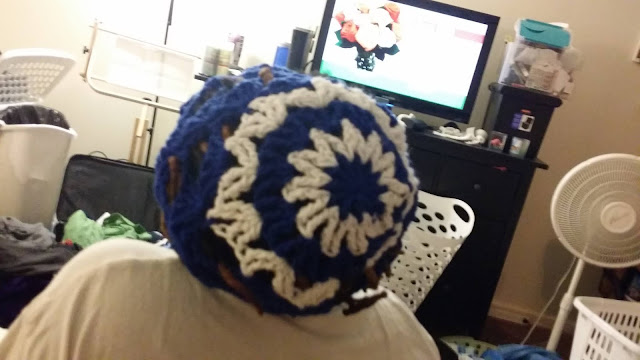
That's it! By the way, that's a pattern that I started doing on the top of my head. I searched and searched for motif patterns that were simple enough. While I saved quite a few for future projects, I wanted one that I would be able to do in a jiffy! So... after an hour, I just started... crocheting!
This will definitely give me something to post about! So maybe... every month, you'll get an update on how this is turning out...? Yay, I hope so! Happy Crafting!
Comments
Post a Comment